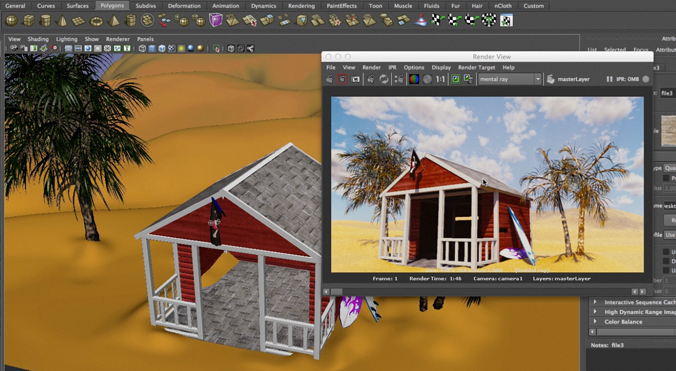
NUK219: Working with Advanced VFX Tools
Working in the trenches, artists often find it difficult to keep up with the latest changes in the industry. As part of our on going commitment to provide Core training in visual effects, we have constructed a course which will highlight some of the latest visual effects tools and techniques, enabling artists to use the most up to date software features in both the upcoming Nuke v7, Maya 2013 and the latest crop of renderers.
Go beyond the manuals and pre-canned demos to examine how new tools and technology actually work. Tahl Niran and Matt Leonard are joining forces to create a comprehensive overview of features using practical examples and some complex projects to demonstrate how to make all the applications, formats and tools work together.
This course will feature both breakdowns of the technology of advanced tools AND project based classes in which they will explain how to use these complex tool to produce quality work . A good working knowledge of both Maya and Nuke is essential for people wishing to get the most out of this class.
Tahl Niran, is a compositor and trainer who has been working in visual effects since 1999. In that time he has worked in games, broadcast design, tv commercials and feature films and trained artists in Australia, London, New York, Mumbai and Shanghai. Tahl was one of the foundation professors at FXPHD and also one of the creators of the original Foundry Nuke Masterclasses. He returns to FXPHD after three years in London working with the team at Double Negative Visual Effects.
Leonard has been in the 3D and visual effects industry for 19 years and has produced work for feature films, commercials and large corporate projects. He has spoken at various events and shows on behalf of Autodesk, The Foundry and eyeon Software and has had articles published in magazines and journals. He has worked as a beta tester for Maya, Mari, Mudbox, Nuke and Fusion. He currently runs his own on-site training company in the UK and has trained artists from companies such as Double Negative, Ghost VFX, Dreamworks Animation and Framestore.
Class 1: What is openColor IO (OCIO) ? Introduction to the use of OCIO for colour management in Nuke. Overview of OCIO nodes and concepts:linear workflow, scene referred linear, and nuke colour management.
Class 2: Continue working pipeline.
Class 3: Choosing a render engine. Features, Image quality, and practical output options. How do you choose? We’ll cover Pixar’s RenderMan, Nvidia’s mental ray, Solid Angel’s Arnold, and Chaos Group’s V-Ray.
Class 4: Dealing with CG in comp. Let’s settle this multipass thing once and for all, by examining how to use all the passes, determining what you need and what you don’t, and taking a look at some simple tools and techniques for getting the most out of CG passes.
Class 5: Project 1 We dive into our first project, using Maya, Nuke and Camera tracking to integrate a CG object complete with particles and other interactions in to a live action environment. The first class will be plate prep, cleanup, and root. Using NUKE and the new v7 tracker and rotopaint to create the plate, using the Extra Matrix to share data between the planer and 2D track, Mocha, and all your root and paint nodes.
Class 6: Project 1, cont. Creating 3D assets. We’ll use Maya, Mari and our selected renderer to create the 3D assets needed for our Project. Lighting rendering and breaking our 3d work into deliverables for comp
Class 7: Project 1, cont. Compositing CG assets and making it work. Colour matching, optical enhancements and integration using CG data from 3d for complex interaction.
Class 8: Project 2. Our second project is a localized HDRI project utlizing Maya, mental ray, and NUKE. We’ll be using projected images and proxy geometry to create a localized HDR Illuminated object integrate into an environment. In part 1, we’ll be creating assets for 3D, setting up HDR material for our Image Based Lighting scene. We’ll use NUKE to Create virtual sets to aid in lighting and integration.
Class 9: Project 2, Part 2. Creating 3d assets. We’ll create an IBL asset in Maya, generate output passes, and include rendering workflow tips and tricks.
Class 10: Project 2, Part 3. Compositing the Project. We’ll integrate rendered CG assets back into our scene using previously created Gizmos, use tools to add extra 3D in NUKE, and much more.


Recent Comments